Face Lock / Pattern Lock Unlock Karne Ka Legal Tareeqa For Technicians
🔐 Introduction
Face Lock / Pattern Lock Unlock Karne Ka Legal Tareeqa For Technicians
Aksar technicians ke paas aise mobile phones aate hain jin mein pattern lock, password ya face lock laga hota hai — aur user ya to bhool gaya hota hai, ya kisi aur ka phone hota hai. Technician banne ke liye zaroori hai ke aap legal tareeqe se in issues ko solve karna seekhein — bina kisi illegal activity mein phansay.
Is guide mein aapko milega:
✅ Face / pattern lock unlock karne ke legal methods
✅ Customer verification ka process
✅ Tools & software jo use ho sakte hain
✅ Legal & ethical boundaries
✅ Technician ke liye responsibilities
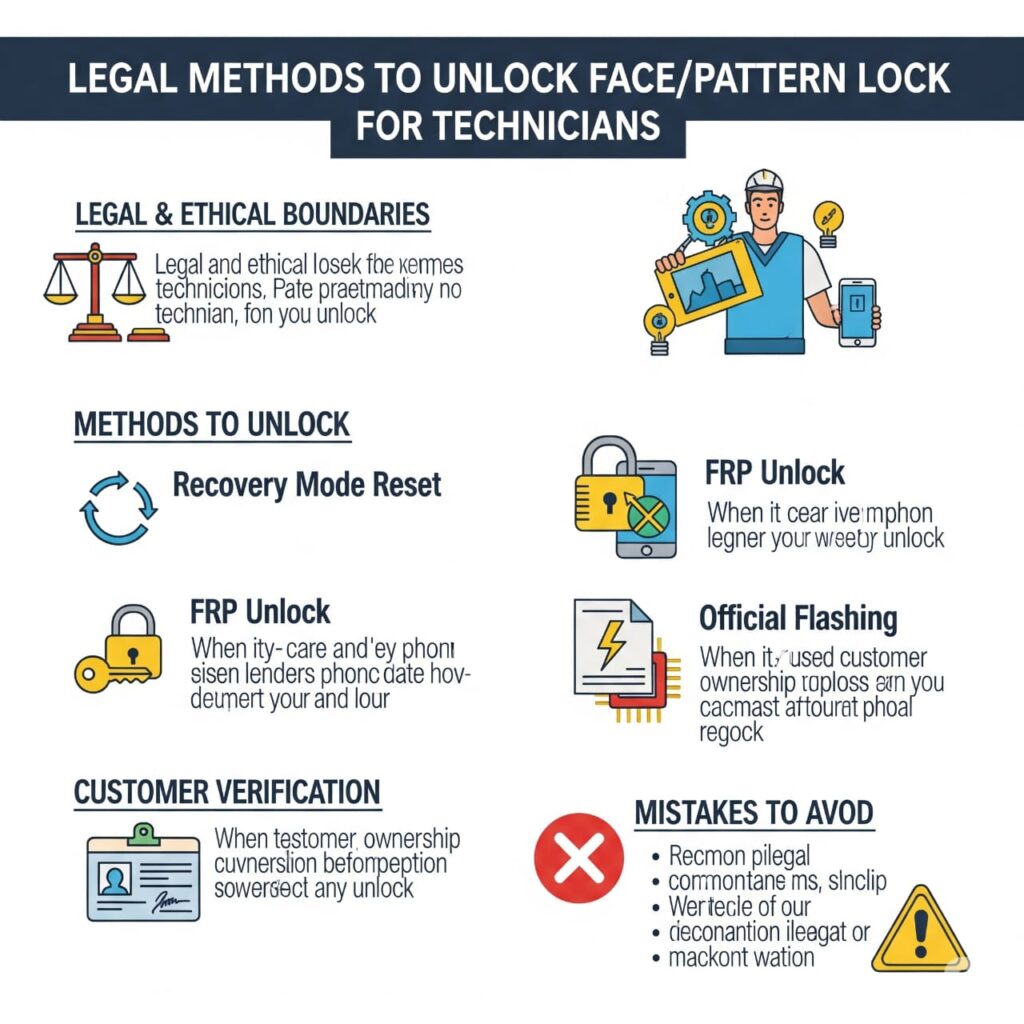
⚖️ 1. Sabse Pehle — Legal & Ethical Boundaries Samjhein
📌 Important Note: Kisi bhi phone ko unlock karna sirf tabhi legal hai jab:
Phone ka original owner ya uska authorized person aapko unlock karne ke liye keh raha ho
Aapke paas proof of ownership ho — jaise CNIC, purchase invoice, ya lock screen par name match karein
Aap data misuse ya unauthorized access na karein
🔴 Kabhi bhi chori ya illegal tareeqe se laaye gaye phone ko unlock na karein. Yeh aapko legal mushkil mein daal sakta hai.
📲 2. Pattern / Face Lock Unlock Karne Ke Legal Tareeqe
✅ A. Official Reset via Recovery Mode (Data Lost)
Aksar Android phones mein recovery mode se factory reset karke lock hataaya ja sakta hai:
Steps:
- Phone ko power off karein
- Volume Up + Power Button press karein (ya device-specific key combo)
- Recovery menu aayega
- Wipe data/factory reset select karein
- Phone reboot hoke lock remove ho jata hai
⚠️ Cons: Is method mein data delete ho jata hai. Sirf tab use karein jab customer ne agree kiya ho.
✅ B. FRP Unlock (Factory Reset Protection Bypass)
Google account ke bina phone use nahi hota reset ke baad. FRP unlock tools legal tab hain jab:
Customer ne account ka access lose kiya ho
Usne written ya video consent diya ho
Popular Tools (Paid & Legal Use Only):
Octoplus FRP Tool
Hydra Tool
Unlock Tool
GSM Aladdin
Samsung FRP Helper (for older models)
📌 Use only licensed tools and always log customer’s consent.
✅ C. Official Flashing with Stock ROM
Kuch cases mein flashing se pattern lock bhi hat jaata hai:
Phone ki model-specific stock firmware download karein
SP Flash Tool, Odin ya Mi Flash Tool use karein
Flash karne se lock hat jaata hai (FRP active ho sakta hai)
📌 Make sure flashing se IMEI corrupt na ho — box tools ya dongle use karein.
📷 3. Customer Verification Tips
Technician hone ke nate, aapki responsibility hai ke phone unlock karne se pehle verify karein:
✅ Lock screen par likha name match karein
✅ Customer ka CNIC image lein (for record)
✅ Written ya WhatsApp message mein unlock consent lein
✅ Agar doubt ho to kaam se mana kar dein — safety first
🧰 4. Required Tools / Software for Unlocking
Tool/Software Use For
SP Flash Tool Mediatek phones flashing
Odin Tool Samsung devices
Mi Flash Tool Xiaomi/Redmi phones
Octoplus / Hydra FRP & screen lock remove
3uTools iPhones (limited use)
GSM Box (e.g. UFI) Pro-level work & data save
💡 Note: iPhones ka Face ID / Passcode bina Apple ID ke unlock karna illegal hai unless Apple ID owner khud available ho.
🚫 5. Mistakes Jo Avoid Karni Chahiye
❌ Kisi bhi unknown ya doubtful user ka phone unlock na karein
❌ Without backup data delete na karein
❌ FRP bypass illegally ya chori ke phone pe apply na karein
❌ Social media pe “unlock services” ka open promotion na karein — law risk badha deta hai
✅ 6. Conclusion
Face lock ya pattern lock unlock karna technician ke liye roz ka kaam ban sakta hai, lekin legal aur ethical boundaries ko samajhna aur follow karna sabse zaroori hai. Customer ki consent lena, tools ka sahi use karna, aur data ka misuse na karna hi aapko professional technician banata hai.
📌 Meta Description
Technicians ke liye legal tareeqe se mobile face lock ya pattern lock kaise unlock karein? Is guide mein milega step-by-step process, tools list, aur verification tips.