Advanced Repair and Tools in Mobile Repairing
Advanced Repair and Tools in Mobile Repairing
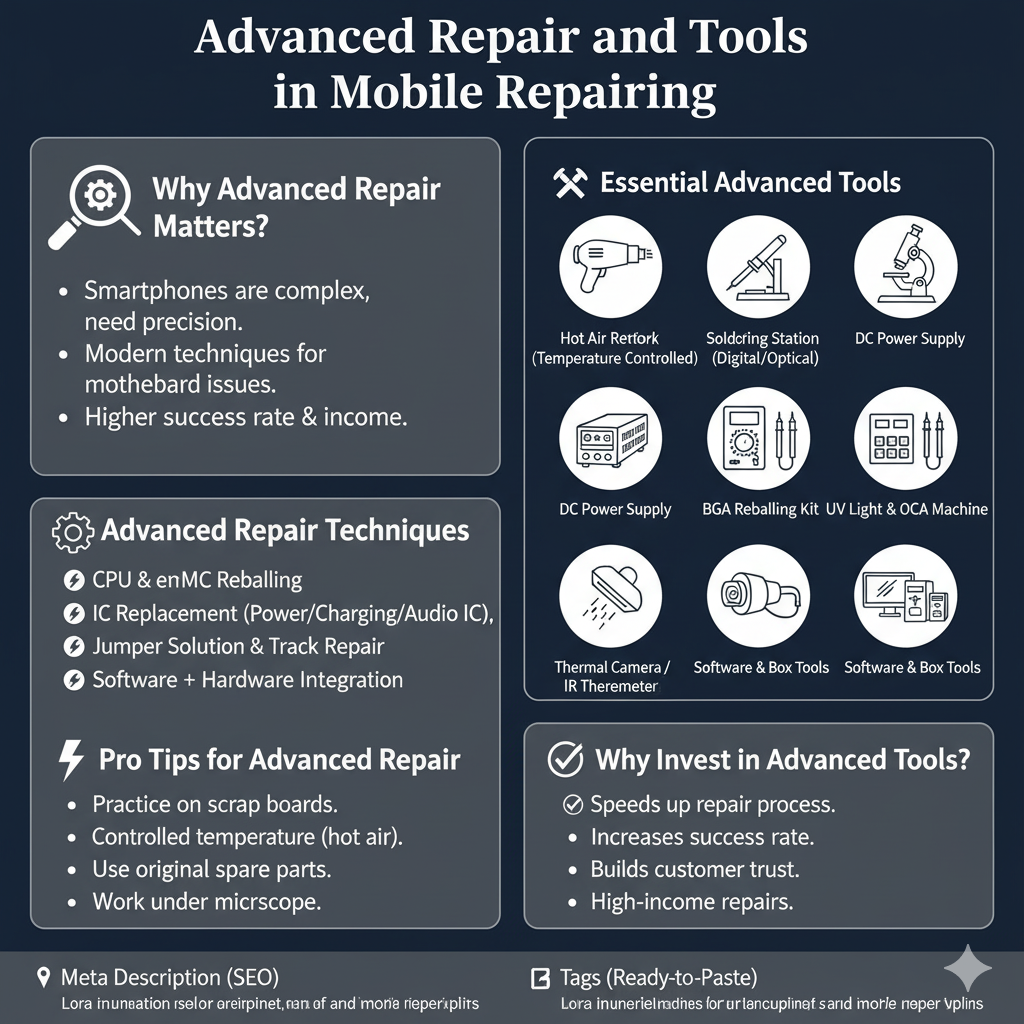
🔍 Why Advanced Repair Matters?
As smartphones get slimmer and more complex, normal soldering iron and basic tools are not enough.
Advanced repairs require precision tools, skills, and modern techniques to fix motherboard-level problems.
—
🛠 Essential Advanced Tools
1. Hot Air Rework Station
For removing & installing ICs, connectors, and BGA chips.
2. Soldering Station (Temperature Controlled)
For accurate micro-soldering of small components.
3. Microscope (Digital/Optical)
To view tiny SMD components and motherboard tracks.
4. DC Power Supply
For checking short circuits, dead mobile current consumption.
5. Multimeter (Digital/Analog)
For testing voltage, resistance, and continuity on PCB.
6. BGA Reballing Kit
Stencils, solder balls, and flux for CPU/eMMC reballing.
7. UV Light & OCA Machine
For glass replacement and display refurbishing.
8. Thermal Camera / IR Thermometer
Detects overheating components on board.
9. Software & Box Tools
(Z3X, UFI, Chimera, Miracle Box, etc.) for flashing, unlocking, and IMEI repair.
—
🔧 Advanced Repair Techniques
1. CPU & eMMC Reballing – Fixing boot loop and dead issues.
2. IC Replacement (Power/Charging/Audio IC) – Restoring hardware functions.
3. Jumper Solution & Track Repair – Reconnecting broken PCB lines.
4. Short Circuit Detection – Finding faulty components using DC power supply.
5. Software + Hardware Integration – Solving issues that involve both sides (e.g., network problems, dead boot).
—
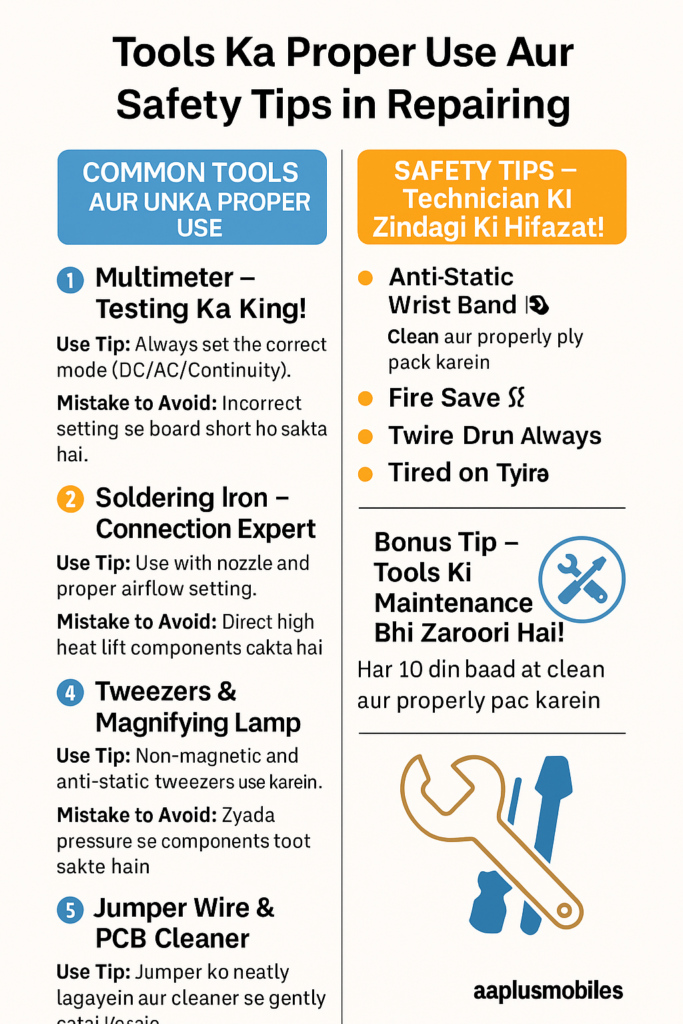
⚡ Pro Tips for Advanced Repair
Always practice on scrap motherboards before handling customer devices.
Maintain controlled temperature while using hot air.
Use original spare parts for reliable results.
Keep your tools calibrated for accuracy.
Work under microscope for precision soldering.
—
✅ Why Invest in Advanced Tools?
Speeds up repair process.
Increases success rate of complex repairs.
Builds customer trust with professional service.
Opens doors for high-income repairs (CPU, eMMC, power IC).