Mobile Repair Karne Ke Liye Sahi Diagnosis Kaise Karen? – Step-by-Step Guide for Technicians
Meta Description:
Mobile repair mein accurate diagnosis hi success ki buniyad hai. Janain kaise mobile faults ko identify karein tools, logic aur professional methods ke zariye – full guide sirf aaplusmobiles.com par!
Mobile repairing duniya ka sabse technical aur fast-changing kaam hai. Lekin jitni advanced technology hoti ja rahi hai, utna hi sahi diagnosis kaafi important ho gaya hai.
Galat diagnosis = galat repair = nuksan.
Aaj ka blog aapko batayega ke ek mobile ko technical tarike se test kaise kiya jata hai, takay repair pehle attempt mein successful ho.
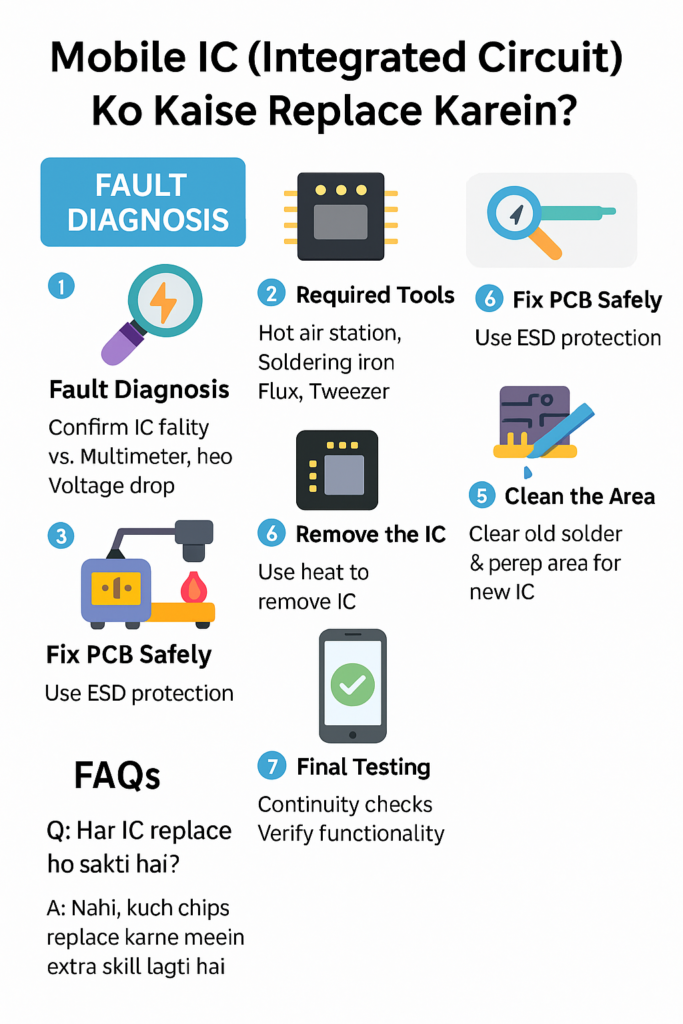
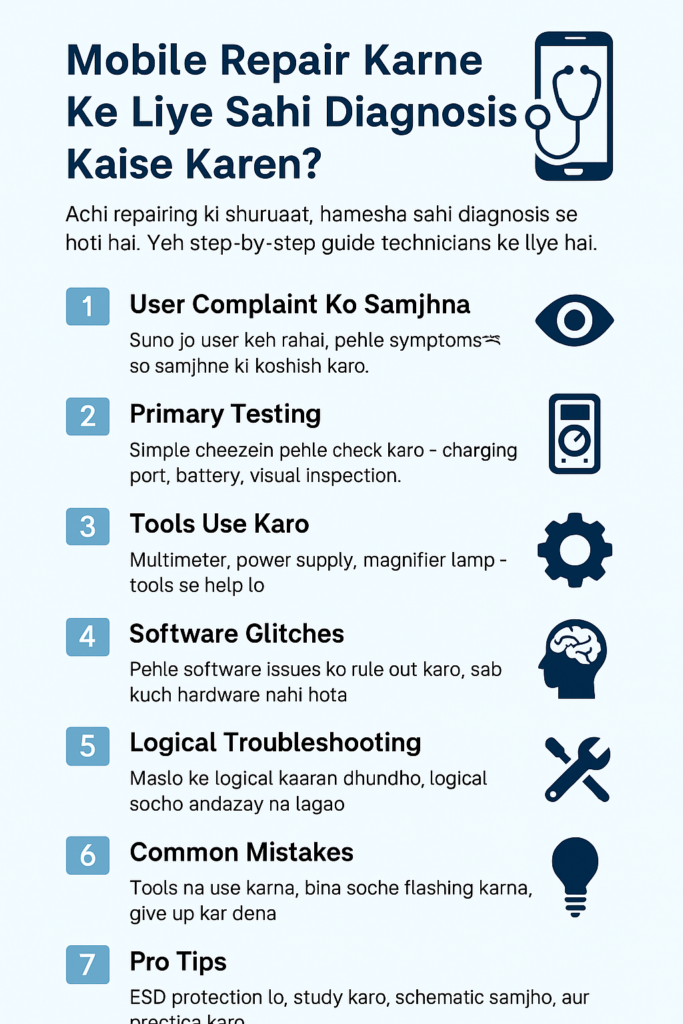
🔍 1. User Complaint Ko Gaur Se Samajhna – “Suno Jo Phone Keh Raha Hai”
Repair ka pehla step hai symptoms ko samajhna:
- Phone charge nahi ho raha? To charger, port, ya battery problem ho sakta hai.
- Phone vibrate karta hai lekin display nahi dikhta? To ya to LCD kharab hai ya backlight IC.
- Network signal nahi aata? To antenna ya network IC pe masla ho sakta hai.
- Touch kaam nahi kar raha? Ho sakta hai digitizer ya connector mein problem ho.
👂 Pehle “phone ka bayan” suno — fir tools uthao.
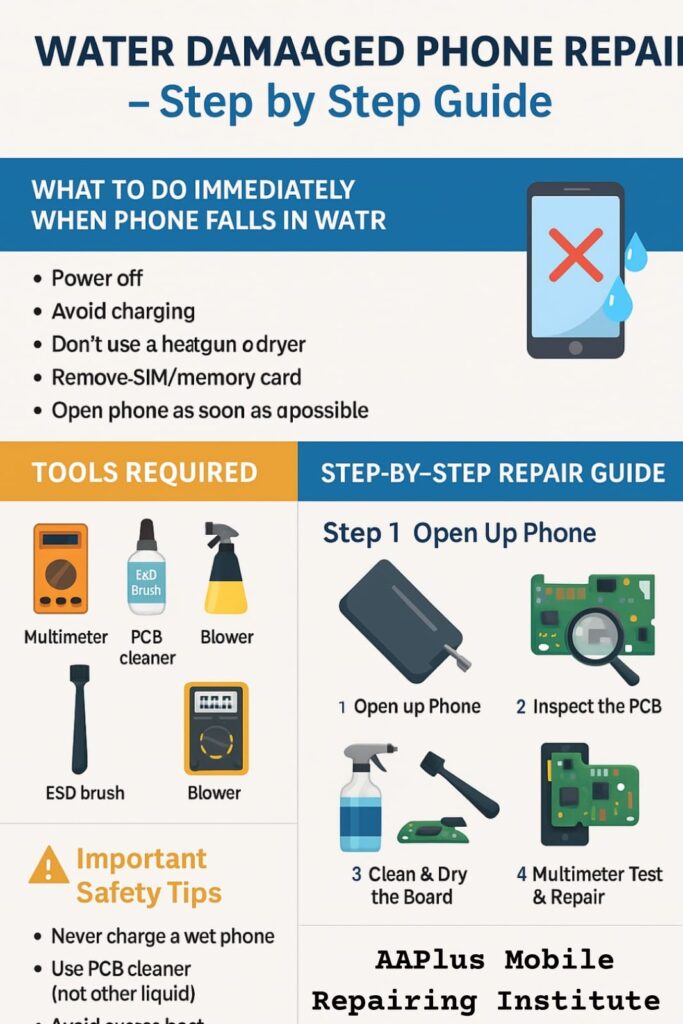
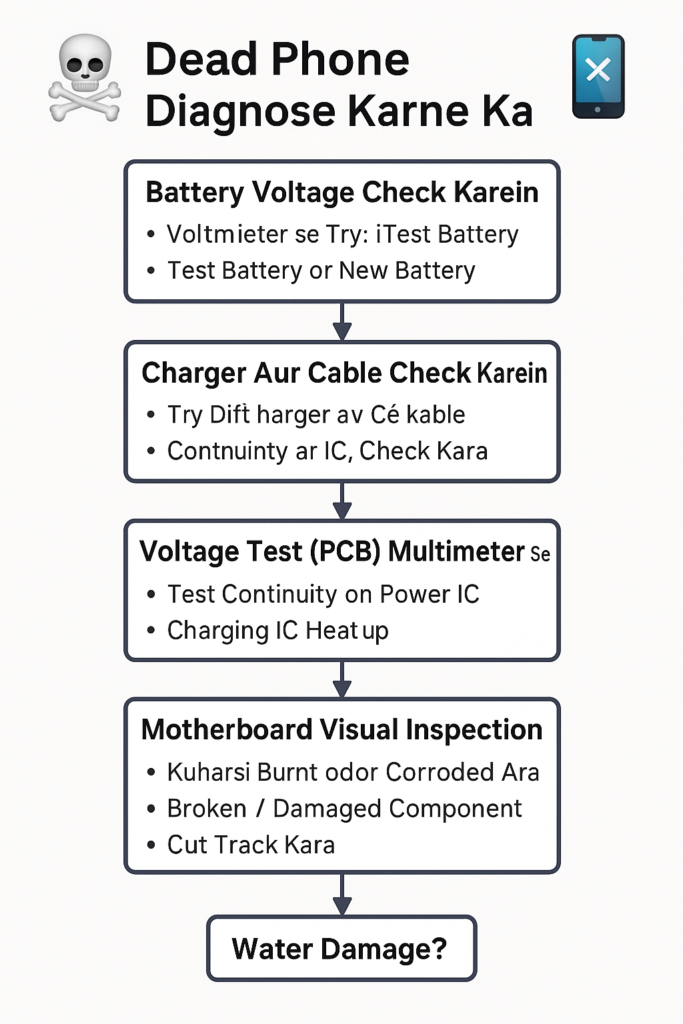
🧪 2. Primary Testing – Basic Se Start Lo, Advance Tak Jao
Sabse pehle simple cheezein test karo:
- Charging port check karo – kya loose to nahi?
- Different charger/cable lagao – faulty cable ka chance hota hai.
- Battery swelling check karo – puffed battery ko turant replace karo.
- Visual inspection – koi IC jali hui, burnt ya color change?
Yeh sab visual aur basic checks aapke kaam ko 30% asaan kar dete hain.
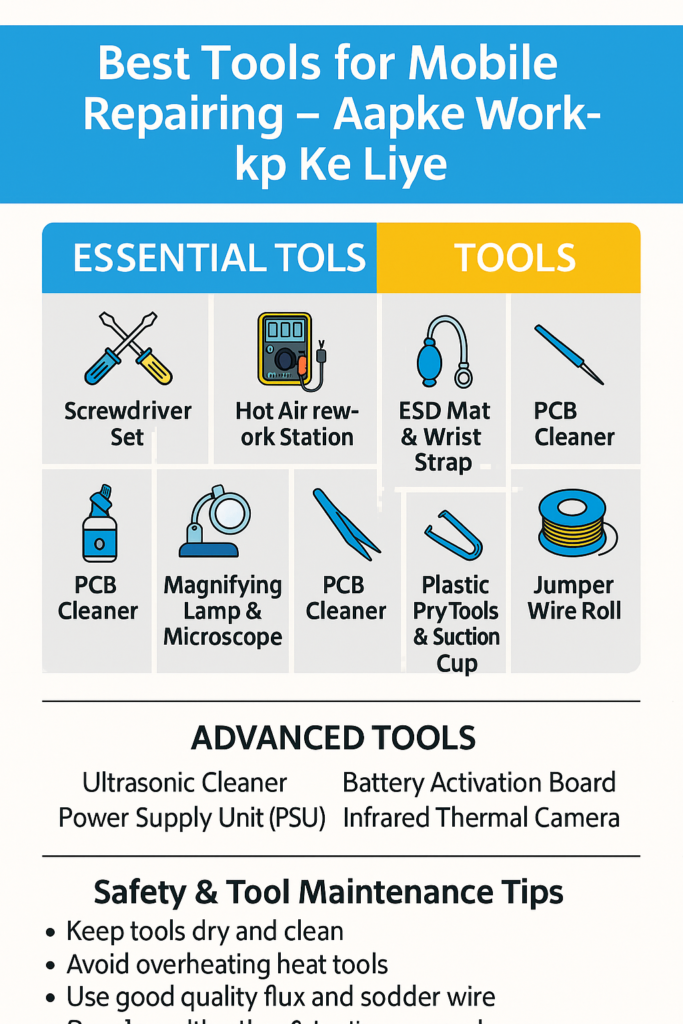
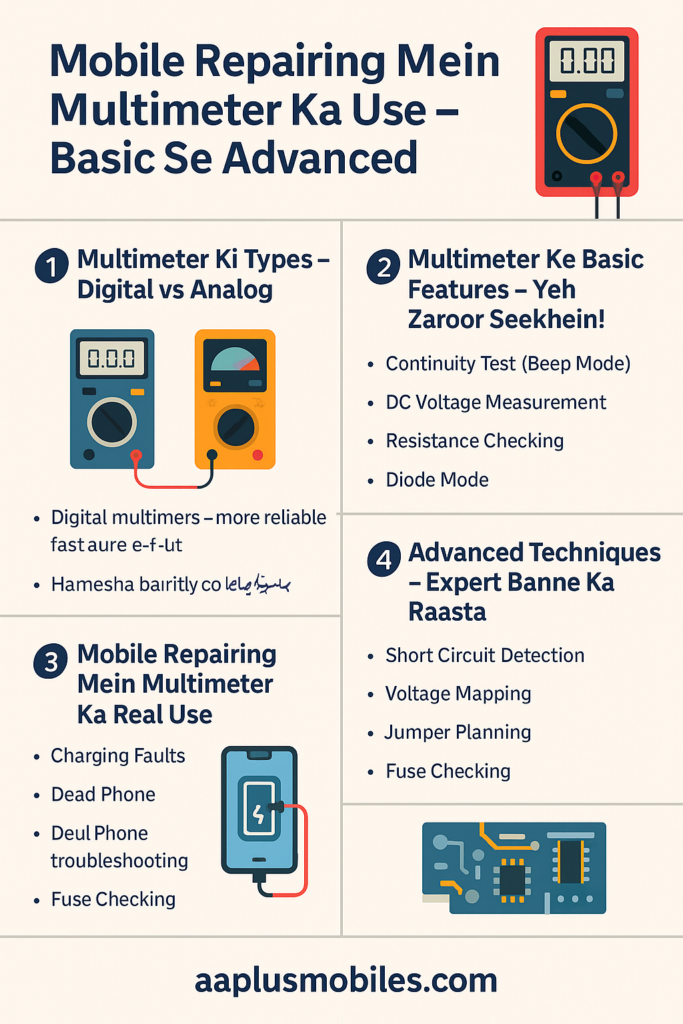
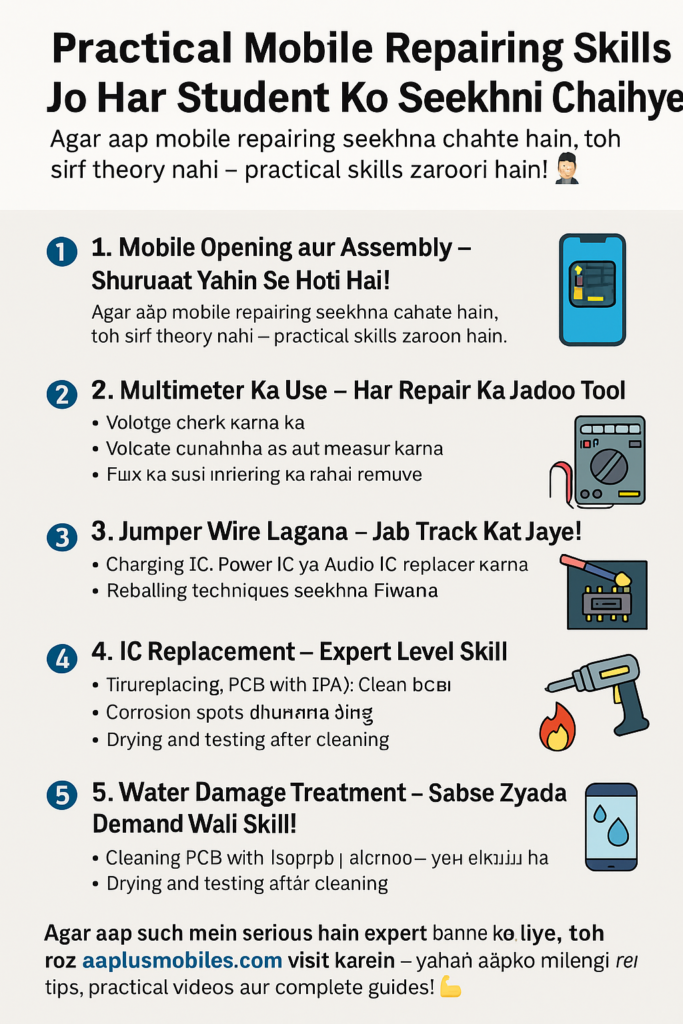
🧰 3. Tools Use Karna Seekho – Professional Bano
Tools = Technician ki aankhein
Aap ko ye zaroori tools use karne aane chahiyein:
- Multimeter: PCB track, voltage aur continuity test
- DC Power Supply: Dead phones ke current draw check karne ke liye
- Magnifier Lamp / Microscope: Chhoti cracks ya damage dhoondhne ke liye
- Thermal camera ya IPA spray: Heating components identify karne ke liye
🔧 Ye tools sirf show-off nahi, har problem ka asar inhi se pakda jata hai.
💻 4. Software Glitches Ko Ignore Mat Karo
Har issue hardware ka nahi hota. Software bhi major reason hota hai:
- Lagging – Factory reset ya cache clean
- Stuck on logo – Flashing
- Auto restart – Software bugs or battery profile issue
- No charging logo – Calibration error
Pehle software fix karke dekho, agar na ho to hardware pe jao.
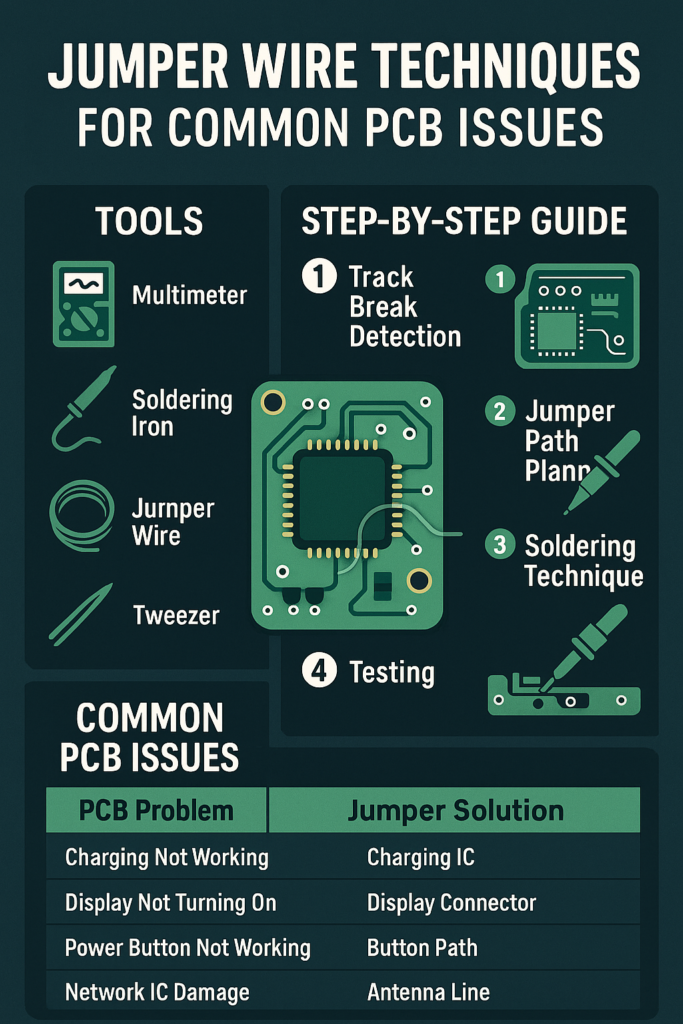
🧠 5. Logical Troubleshooting – Andazay Nahi, Reasoning Chahiye
Har maslay ka ek logic hota hai.
Example:
- Agar charging IC short ho toh board pe excessive heat aayegi.
- Agar display on hai magar no light, toh backlight section check karo.
- Agar voltage supply aa rahi hai magar output nahi, toh capacitor ya coil test karo.
Jis area mein masla ho, usko isolate karo.
🧯 6. Mistakes Jo New Technicians Karte Hain
❌ Bina tools ke kaam karna
❌ Har baar flashing se shuru karna
❌ IC guess kar ke hi replace kar dena
❌ User complaint ko ignore karna
❌ “Sab kuch try kar liya” keh ke give up kar dena
🎯 Technician woh hota hai jo har baar logic se kaam kare, andaza se nahi.
📌 7. Pro Tips – Experts Se Seekhe Gaye Golden Rules
✅ Hamesha ESD protection lo (anti-static mat & wrist band)
✅ Dummy board pe pehle practice karo
✅ Component replacement ke baad full board test zaroor karo
✅ Har section ka voltage chart ya schematic diagram samjho
✅ Har problem ko document karo – yeh future mein kaam aayega
📝 Summary – Sahi Diagnosis = Safe & Fast Repair
Agar aap mobile repair field mein success chahte hain, toh sikhna hoga mobile diagnosis ka science.
Mobile ka masla samajhna, tools se test karna, aur proper sequence follow karna aapko ek expert technician banata hai.
Achi repairing, hamesha sahi diagnosis se shuru hoti hai.
📲 Har roz naye repair tips aur blog guides ke liye visit karein:
👉 aaplusmobiles.com
mobile repair diagnosis, how to diagnose mobile problems, mobile phone fault detection, phone repairing guide, step by step mobile repair, mobile troubleshooting tips, phone repair process, diagnose hardware software issue, mobile inspection techniques, mobile circuit testing, multimeter use in mobile repair, smartphone repair tips, mobile repair technician guide, identify mobile fault, mobile repair tools and techniques, aaplusmobiles