How to Save Your Mobile from Viruses
How to Save Your Mobile from Viruses
Mobile viruses and malware are real — they steal data, drain batteries, show unwanted ads, mine crypto, or even brick phones. The good news: with the right habits, tools, and a step-by-step plan, you can protect your phone and remove infections quickly. This guide shows practical, shop-tested steps for both everyday users and technicians. Let’s keep your mobile safe. ✅
—
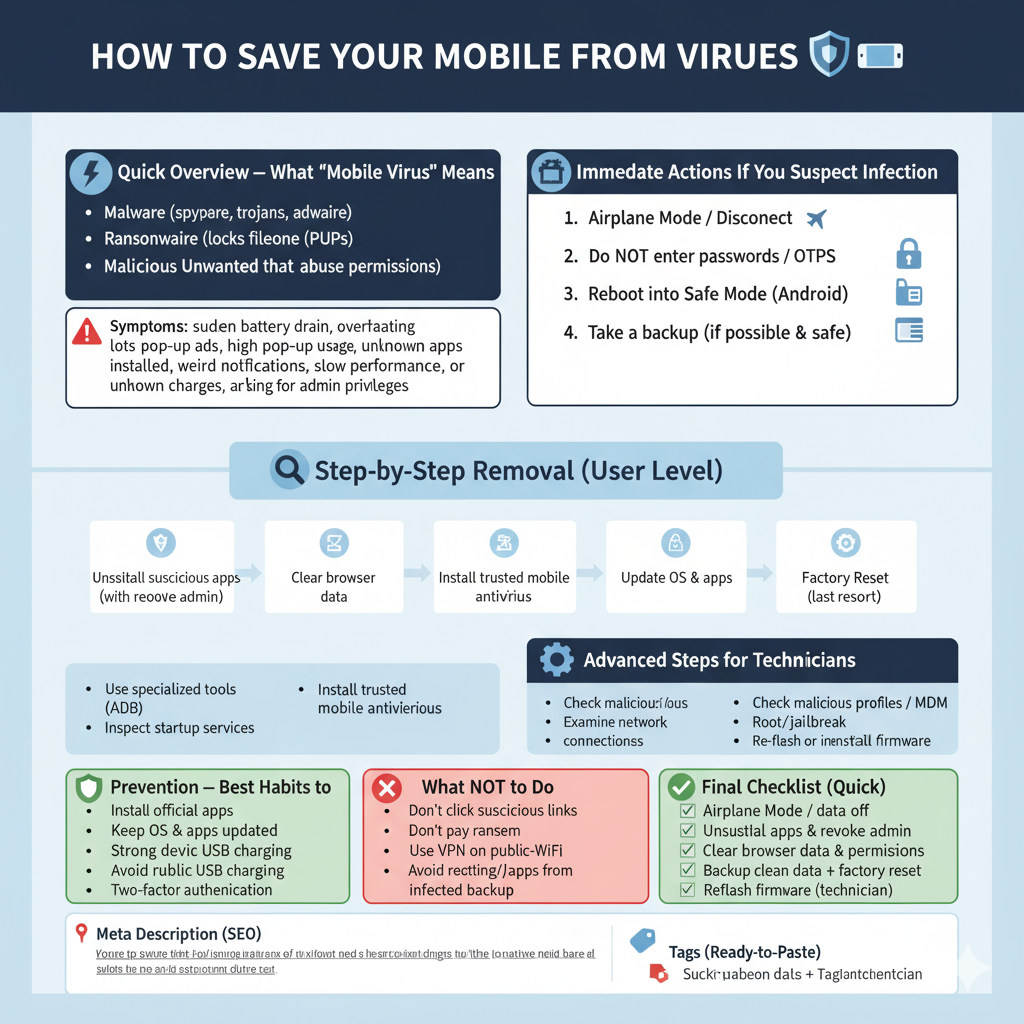
🔍 Quick Overview — What “Mobile Virus” Means
“Mobile virus” is a general term that includes:
Malware (spyware, trojans, adware)
Ransomware (locks files/phone until paid)
Potentially Unwanted Programs (PUPs)
Malicious apps that abuse permissions
Symptoms: sudden battery drain, overheating, lots of pop-up ads, high data usage, unknown apps installed, weird notifications, slow performance, unknown charges, or apps asking for admin privileges.
—
🛠 Immediate Actions If You Suspect Infection
1. Airplane Mode / Disconnect ✈️
Put the phone in Airplane Mode (or turn off Wi-Fi & mobile data). This stops data exfiltration and remote commands.
2. Do NOT enter passwords / OTPs 🔒
Avoid logging into banking or sensitive accounts until your device is clean.
3. Reboot into Safe Mode (Android) 🧰
Safe Mode disables third-party apps so you can check if a downloaded app is the culprit. (iPhone equivalent: uninstall suspicious apps; iOS malware is rare but possible on jailbroken devices.)
4. Take a backup (if possible & safe) 💾
If you can still access important files, back them up to a trusted computer or cloud account — but don’t back up apps or executables that may reintroduce malware.
—
🔍 Step-by-Step Removal (User Level)
1. Uninstall suspicious apps
Settings → Apps → look for recent installs or apps you didn’t authorize → Uninstall.
For apps with device admin permission, first revoke admin: Settings → Security → Device Administrators.
2. Clear browser data
Pop-up ads often come from malicious web redirects. Clear browsing history, cookies, and site data.
3. Install trusted mobile antivirus 🧰
Use a reputable scanner (look for established vendors). Run a full scan and follow removal prompts. (For Android use Google Play only; for iPhone, anti-malware options are limited—rely on iOS security and remove suspicious profiles or MDMs.)
4. Update OS & apps 🔁
Patches often close vulnerabilities malware exploits. Update system and installed apps from official stores.
5. Factory Reset (last resort) 🔄
If infection persists, backup data (photos, contacts) and factory reset. This usually removes all malware — but ensure backups don’t reintroduce the threat.
—
🧩 Advanced Steps for Technicians
1. Use specialized tools
Use ADB (Android Debug Bridge) to list installed packages, pull logs, and remove stubborn apps.
Inspect startup services, unusual background processes, and battery/performance traces.
2. Check for malicious profiles / MDM
Some attacks install a configuration profile (iOS) or MDM (management) — remove them if unauthorized.
3. Examine network connections
Use packet inspection or mobile debugging to detect suspicious outbound traffic.
4. Look for root/jailbreak compromises
Rooted or jailbroken devices are far more vulnerable; advise customers to reflash stock firmware if compromised.
5. Re-flash or reinstall firmware
For persistent or deeply embedded malware, flash official stock firmware with manufacturer tools (this ensures a clean system).
—
🔒 Prevention — Best Habits to Keep Mobile Clean
Install apps only from official stores (Google Play / Apple App Store).
Read app permissions — if a simple flashlight app asks for SMS/call permissions, refuse.
Keep OS & apps updated — enable auto updates.
Use strong device lock & biometrics.
Avoid public USB charging (use your power bank or charge blocks).
Use a VPN on public Wi-Fi to prevent MITM attacks.
Avoid rooting/jailbreaking unless you know the risks.
Use two-factor authentication for important accounts (but be careful with OTP apps on a compromised phone).
—
⚠️ What NOT to Do
Don’t click suspicious links or install APKs from unknown sites.
Don’t pay ransom without consulting security experts — payment doesn’t guarantee recovery.
Don’t restore apps from an infected backup without scanning first.
—
✅ Final Checklist (Quick)
[ ] Airplane Mode on / data off
[ ] Run antivirus scan (trusted app)
[ ] Uninstall suspicious apps & revoke admin access
[ ] Clear browser data & reset permissions
[ ] Update OS & apps
[ ] Backup clean data, then factory reset if needed
[ ] Reflash firmware if infection persists (technician)
—
📌 Meta Description (SEO)
How to save your mobile from viruses: practical steps to detect, remove and prevent malware on phones. Immediate actions, removal steps, technician tips, and long-term protection.